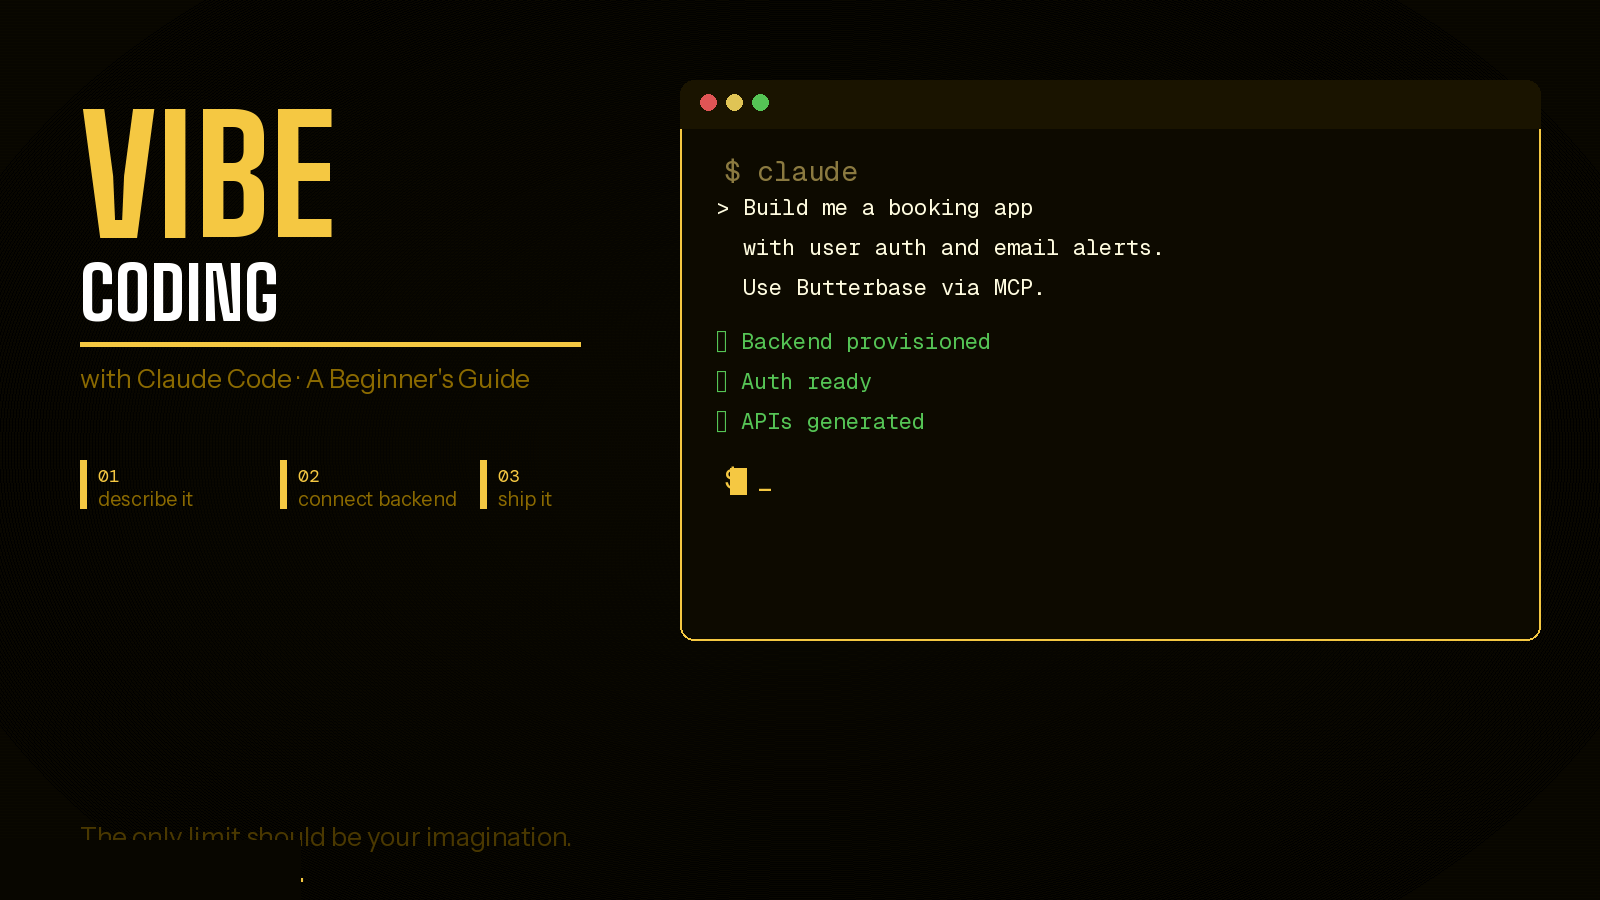
Vibe coding with Claude Code means describing what you want to build in plain English and letting an AI agent write the code, edit the files, and run the commands to make it real. You do not need to know how to code. You need a clear idea, the willingness to iterate, and - the step most beginners miss - a backend to make your project actually work as a product.
This guide walks you through everything: what vibe coding actually is, how Claude Code works, how to set it up, how to write prompts that get great results, and how to avoid the mistakes that trip up most beginners.
What is vibe coding?
Vibe coding is building software by describing what you want in natural language - instead of writing code yourself. You have a conversation with an AI tool: you tell it what to build, it writes the code, you look at the result, you tell it what to change, and you keep going until you have something that works.
The term was coined by Andrej Karpathy in early 2025 when he described a new way of programming: "I just see things, say things, run things, and copy-paste things, and it mostly works." It resonated immediately because it described what thousands of people were already doing - building real software without writing code, guided by intuition and conversation rather than syntax and documentation.
What makes vibe coding different from just "using ChatGPT to help with code" is the intent. Traditional developers use AI as an assistant - they understand the code and use AI to speed things up. Vibe coders use AI as the builder - they focus on the product vision and let the AI handle the implementation. You do not need to understand how a React component works. You need to understand what your user needs to see on screen.
This is not a lesser form of development. It is a different skill set: product thinking, clear communication, systematic iteration, and the ability to describe what you want precisely enough that an AI can build it.
What is Claude Code?
Claude Code is Anthropic's agentic coding tool. Unlike a chatbot that gives you code snippets to copy and paste, Claude Code lives inside your terminal and directly works on your project files. It reads your entire codebase, understands how all the pieces connect, and makes changes across multiple files at once.
Think of the difference like this: a regular AI chat is like texting a developer friend for advice. They can suggest code, but you have to copy it, paste it in the right place, and make sure it works with everything else. Claude Code is like having that developer sitting at your computer, making the changes themselves, testing them, and fixing what breaks.
Specifically, Claude Code can:
- Create new files and folders in your project
- Edit existing code across multiple files simultaneously
- Install packages and dependencies your project needs
- Run your application and check for errors
- Execute tests to verify things work correctly
- Read error messages and fix the underlying problems
- Refactor code - reorganising it to be cleaner without changing what it does
It maintains context across your entire conversation. If you told it twenty minutes ago that your app uses a yellow accent colour, it remembers. If you built a user login system three prompts ago, it knows that system exists and can connect new features to it.
How Claude Code compares to other AI coding tools
The AI coding landscape in 2026 has several strong options, and understanding the differences helps you choose the right one.
Claude Code vs Cursor. Cursor is an AI-powered code editor - a desktop application that looks like VS Code with AI built in. It is excellent for developers who want AI assistance while they write code. Claude Code is a terminal-based agent that does not need an editor at all. If you are a developer who likes working in an IDE, Cursor might feel more natural. If you are a non-technical builder who wants to describe what to build and let the AI do everything, Claude Code's agentic approach is more powerful.
Claude Code vs Lovable. Lovable is a browser-based AI coding tool - you describe your app, and it builds it with a live preview right in your browser. It is the fastest way to go from idea to visual prototype. There is no terminal, no setup, no local development environment. If you want the absolute simplest path from idea to working app, Lovable is hard to beat. Claude Code gives you more control over the technical details and works well for larger, more complex projects where you need fine-grained iteration.
Claude Code vs Bolt. Bolt is similar to Lovable - a browser-based builder with a live preview. The key differences are in how they handle the backend and in the quality of the generated code. Both are strong options for vibe coders who want to stay in the browser.
Claude Code vs GitHub Copilot. Copilot is primarily an autocomplete tool - it predicts the next line of code as you type. It is designed for developers who are actively writing code and want speed. Claude Code is designed for people who want to describe entire features and have the AI build them. They solve different problems.
What can you realistically build?
This is the question every beginner asks, and the honest answer is: more than you think, but with caveats.
Personal and professional tools. Portfolio websites, résumé builders, personal CRM systems, productivity dashboards, habit trackers, journaling apps. These are the sweet spot for vibe coding - single-user or small-audience tools where you are building for yourself or a specific person. Claude Code excels here because the requirements are clear and the scope is manageable.
Business tools. Booking and scheduling systems, client portals, invoice trackers, staff rota tools, inventory management systems. These require a backend (more on that below) because multiple users need to access shared data. With a backend connected, Claude Code can build these surprisingly well.
Social and community apps. Event RSVPs, group expense trackers, shared trip planners, sports team management tools. Anything where a group of people interact with shared data. These are more complex because you need to think about permissions (who can see what) and real-time updates (when one person changes something, others need to see it).
AI-powered tools. Applications that use AI APIs to process text, images, or audio - receipt scanners, email summarisers, content repurposers, customer support chatbots. Claude Code is particularly good at integrating external APIs because it can read documentation and write the connection code.
What is harder to build. Highly interactive real-time applications (like multiplayer games), apps that require complex algorithms (like route optimisation), and anything that needs to handle thousands of concurrent users with sub-millisecond latency. These are not impossible, but they require more technical understanding to guide the AI effectively.
The step most beginners miss: the backend
This is the single most important section of this guide. If you remember nothing else, remember this.
Claude Code is exceptional at building frontends - the visual interface, the forms, the layouts, the animations. Within minutes, you can have something that looks and feels like a real application. You will be excited. You will show it to someone. And then you will discover the problem.
Nothing is actually saved. There is no way for users to log in. The data disappears when they close the tab. What you built is a clickable prototype, not a product.
This happens because Claude Code, by default, builds only the frontend - the part that runs in the user's browser. To make your app actually work, you need a backend: a database to store data, authentication to manage user accounts, and an API to connect the two.
The solution is simple but critical: connect Claude Code to a backend platform via MCP before you start building. Not after. Not when you "get to that part." Before your very first prompt. This way, when you describe your app, Claude Code builds the frontend and the backend together from the start.
What is MCP and why it changes everything
MCP stands for Model Context Protocol. It is an open standard developed by Anthropic that lets AI tools communicate with external services - databases, APIs, backend platforms, and more. Think of it as a universal plug that connects your AI coding tool to the outside world.
For vibe coders, the most important use of MCP is connecting a backend platform (like Butterbase) to Claude Code. Once connected, Claude Code can:
- Create database tables to store your app's data
- Set up user authentication (sign up, log in, password reset)
- Configure file storage for user uploads
- Generate API endpoints that connect your frontend to your database
- Set up security rules so users can only access their own data
All of this happens automatically, guided by your natural language descriptions. You say "users should be able to create an account and save their favourite recipes" - and Claude Code provisions the user accounts table, the recipes table, the relationship between them, and the frontend code that connects to all of it.
Without MCP: you describe your app, Claude Code builds a beautiful frontend, you discover there is no backend, you spend hours trying to figure out how to add a database, you get frustrated, you give up.
With MCP: you connect your backend platform once (a one-time setup that takes two minutes). From that point on, every app you build automatically has a production-ready backend. No extra steps, no extra prompts, no extra configuration.
How to install and set up Claude Code
Here is exactly what you need and how to get started.
Prerequisites:
- A computer running macOS, Windows, or Linux
- Node.js version 18 or higher installed (download from nodejs.org if you do not have it)
- A Claude account with API access from console.anthropic.com
- A terminal application (Terminal on Mac, PowerShell on Windows, or any terminal emulator on Linux)
Step 1: Install Claude Code. Open your terminal and run:
npm install -g @anthropic-ai/claude-code
This installs Claude Code globally on your computer so you can use it from any project folder.
Step 2: Create a project folder. Create a new folder for your project and navigate into it:
mkdir my-app && cd my-app
Step 3: Connect your backend. Before writing a single prompt, connect your backend platform. If you are using Butterbase, add the MCP configuration to your Claude Code settings file. This ensures every feature you build is backed by real data storage from the very beginning.
Step 4: Start Claude Code. In your project folder, simply type:
claude
Claude Code will start up, read your project (which is empty at this point), and wait for your first prompt. You are ready to build.
Building your first project: a step-by-step walkthrough
Let us build something simple but real - a personal reading list where you can save books you want to read, mark them as finished, and add notes.
Your first prompt might be:
"Build a personal reading list app. I should be able to add books with a title, author, and optional notes. I should be able to mark books as read or unread. The design should be clean and minimal with a warm colour palette. Use Butterbase as the backend via MCP."
Claude Code will take this description and start building. It will create the project structure, install necessary packages, build the UI components, set up the database tables (a books table with columns for title, author, notes, and read status), and connect everything together. This might take a couple of minutes.
Review and refine. Once it finishes, run the app and look at it. You will probably want to change things. That is normal and expected. You might say:
"Move the 'Add Book' button to the top of the page and make it more prominent. Also, add the ability to sort books by date added or by title."
Claude Code will make these changes while keeping everything else intact. This back-and-forth conversation is the core of vibe coding - describe, review, refine, repeat.
How to write prompts that produce great results
The quality of what Claude Code builds is directly proportional to the quality of your descriptions. Here is how to write prompts that get great results.
Start with what the app does, in one sentence. "A booking system for a personal trainer" or "A tool that tracks my job applications" or "A recipe collection app with meal planning." This gives Claude Code the big picture before the details.
Define who uses it and what each type of user can do. This is more important than most beginners realise. "There are two types of users: trainers and clients. Trainers can set their availability, view all bookings, and cancel sessions. Clients can browse available slots, book sessions, and view their booking history." Defining roles upfront prevents a huge category of confusion later.
Describe the core user flows step by step. Walk through the main journeys. "A new client visits the page, sees available time slots for this week, picks one, enters their name and email, confirms the booking, and sees a confirmation screen with the details." This level of specificity gives Claude Code a clear blueprint.
Specify design preferences. You do not need design expertise - just describe the feeling you want. "Clean, minimal design. White background with warm yellow accents. Rounded corners. Plenty of white space." Or reference something: "Similar aesthetic to Notion" or "The kind of design you would see on a modern SaaS landing page."
Name your backend explicitly. Always include something like "Use Butterbase as the backend via MCP" at the end of your initial prompt. This ensures Claude Code sets up real data persistence from the very first build.
The art of iteration
Nobody gets a perfect app on the first prompt. The magic of vibe coding is in the iteration - the ongoing conversation where you refine, adjust, and improve.
Be specific about what needs to change. "Make the 'Book Now' button 48px tall, full width on mobile, and use the amber accent colour" will get you exactly what you want. "Make the button bigger" will get you something, but probably not what you imagined. The more specific your description, the closer the result matches your vision.
Describe the outcome, not the code. You do not need to say "add a useState hook and a useEffect that fetches data on mount." Just say "when the page loads, show the user's saved books." Let Claude Code decide how to implement it - that is its job.
Fix one thing at a time. When you notice multiple issues, resist the urge to fix them all in one prompt. Address them one by one. This makes it easier to spot if something goes wrong and keeps the conversation focused.
Use the conversation history. Claude Code remembers everything from the current session. You can reference things you discussed earlier: "Remember the booking confirmation screen we built? Add a 'Add to Calendar' button to it." You do not need to re-explain context.
Test after every significant change. Run your app after each major addition. Catching problems early - when only one thing changed - makes them vastly easier to fix than discovering them after ten changes when you are not sure which one broke things.
Common mistakes and how to avoid them
Building without a backend. Already covered, but it bears repeating: this is the most common mistake and the most costly. Every minute you spend building frontend features without a backend is a minute you will spend re-doing when you eventually add one. Connect your backend first.
Writing prompts that are too vague. "Build me a cool app" gives Claude Code nothing to work with. "Build a habit tracker where I can create daily habits, check them off each day, and see a streak counter for each habit" gives it everything. Vagueness creates ambiguity, and ambiguity creates wrong outputs.
Trying to build everything at once. The temptation is to describe your entire vision in one massive prompt - every feature, every page, every edge case. Resist this. Start with the core user flow. Get it working completely. Then add features one by one. Complex systems built incrementally are far more reliable than complex systems built all at once.
Not testing as you go. If you add five features before testing, and something is broken, you have no idea which feature caused the problem. Test after every significant addition. It takes a few seconds and saves hours of debugging.
Giving up when something breaks. Things will break. Errors will appear. This is completely normal - it happens to professional developers every day. When it happens, describe the error to Claude Code: "When I click the Submit button, nothing happens and I see this error in the console: [paste the error]." Claude Code is excellent at debugging when given specific information.
Ignoring mobile responsiveness. Many beginners build their app on a desktop screen and never check how it looks on mobile. In 2026, most users will access your app on their phone. Ask Claude Code explicitly: "Make sure this layout works well on mobile screens." Then actually test it by resizing your browser window.
Debugging with Claude Code
When something goes wrong - and it will - Claude Code is one of the best debugging partners you can have. But you need to give it the right information.
Copy the exact error message. If you see a red error in your browser console or terminal, copy the entire thing and paste it to Claude Code. "I see this error: [paste]" is the single most effective debugging prompt.
Describe what you expected vs what happened. "When I click 'Save,' I expect the item to appear in my list. Instead, nothing happens and the form stays open." This gives Claude Code both the expected behaviour and the actual behaviour, which narrows down the problem dramatically.
Mention what changed recently. "This was working before I added the search feature" tells Claude Code exactly where to look. If you have been testing after every change (as recommended), you will always know what changed.
Ask Claude Code to add logging. If you cannot figure out what is wrong, say "Add console.log statements to the save function so I can see what data is being sent." This gives you visibility into what the code is actually doing, which often reveals the problem immediately.
Deploying your first project
Deploying means putting your app on the internet so anyone with the URL can use it. Until you deploy, your app only runs on your own computer.
For the frontend, the most common option is Vercel. It is free for personal projects, integrates directly with GitHub, and automatically redeploys whenever you push changes. Netlify is another strong option with similar features. You can ask Claude Code: "Help me deploy this project to Vercel" and it will walk you through the process.
For the backend, if you connected a backend platform like Butterbase, it is already deployed and running in the cloud. You do not need to deploy it separately. Your frontend just needs to know the URL of your backend, which was configured during the MCP setup.
Custom domains. Both Vercel and Netlify give you a free URL (like your-app.vercel.app). If you want a custom domain (like myapp.com), you can purchase one from a domain registrar and connect it through your hosting platform's settings. Claude Code can help you configure this.
The one thing to remember
Vibe coding is a conversation, not a command. You are not giving orders to a machine - you are collaborating with an AI that understands code, remembers context, and can build complex systems from natural language descriptions.
The skill you are developing is not programming. It is product thinking: the ability to clearly describe what needs to exist, for whom, and why. The ability to look at something and articulate precisely what should be different. The ability to break a complex vision into manageable, buildable pieces.
Start with a clear idea. Connect your backend before your first prompt. Write a detailed description. Review what gets built. Refine through conversation. Test everything. Deploy when it works.
The only limit is not your ability to code - it is the clarity of what you want to build and the patience to iterate until it is real.